
The short answer
A ductless mini-split is a good fit when one or more rooms run hot or cold, the house has no ducts, or extending ductwork would be messy. We size each indoor head to the room, pick a clean outdoor location, and walk you through operation before we leave.
A ductless mini-split puts heating and cooling exactly where a house is missing it, without tearing open walls to run new ductwork. In Danville and the surrounding San Ramon Valley, that usually means a converted garage that bakes every afternoon in August, a bonus room over the garage that never matches the thermostat downstairs, or an older ranch house that was built with a wall heater and no ducts at all. EliteFlow HVAC Repair Service plans and installs mini-split systems for homeowners in Danville, Alamo, San Ramon, Blackhawk and nearby Contra Costa communities. This page explains when a ductless system makes sense, what we look at before recommending one, how it compares to fixing or extending what you already have, which choices shape the overall project, and what installation day looks like from the first knock on the door to the final walkthrough.
Rooms and homes that tell you ductless is worth a look
Inland valley summers are the main driver here. Danville sits well away from the cooling influence of the Bay, so a west-facing room or an upstairs space can climb well above the rest of the house by late afternoon. When a central system is already working hard and a single room still lags, adding ducts to that room rarely fixes the problem, because the trouble is often the distance from the air handler and the heat load of the room itself.
A mini-split works independently. Each indoor unit has its own controls, so the family room can be comfortable while a guest room stays off. That independence is also what makes ductless attractive for additions and accessory dwelling units, where tying into the main system can overload it.
- A garage conversion, sunroom or addition that never got proper heating or cooling
- An upstairs bedroom that runs several degrees warmer than the hallway thermostat
- An older home heated by a wall furnace or floor furnace with no duct system to build on
- Window air conditioners you are tired of installing, removing and listening to
- A home office used all day while the rest of the house sits empty
- Plans to move away from gas heat one zone at a time
What our technician evaluates before quoting
A good ductless installation is mostly decided before any equipment arrives. We measure each room, note window size and orientation, check insulation where we can see it, and ask how the space is used. A bedroom used only at night needs different capacity than a kitchen with afternoon sun and appliances running.
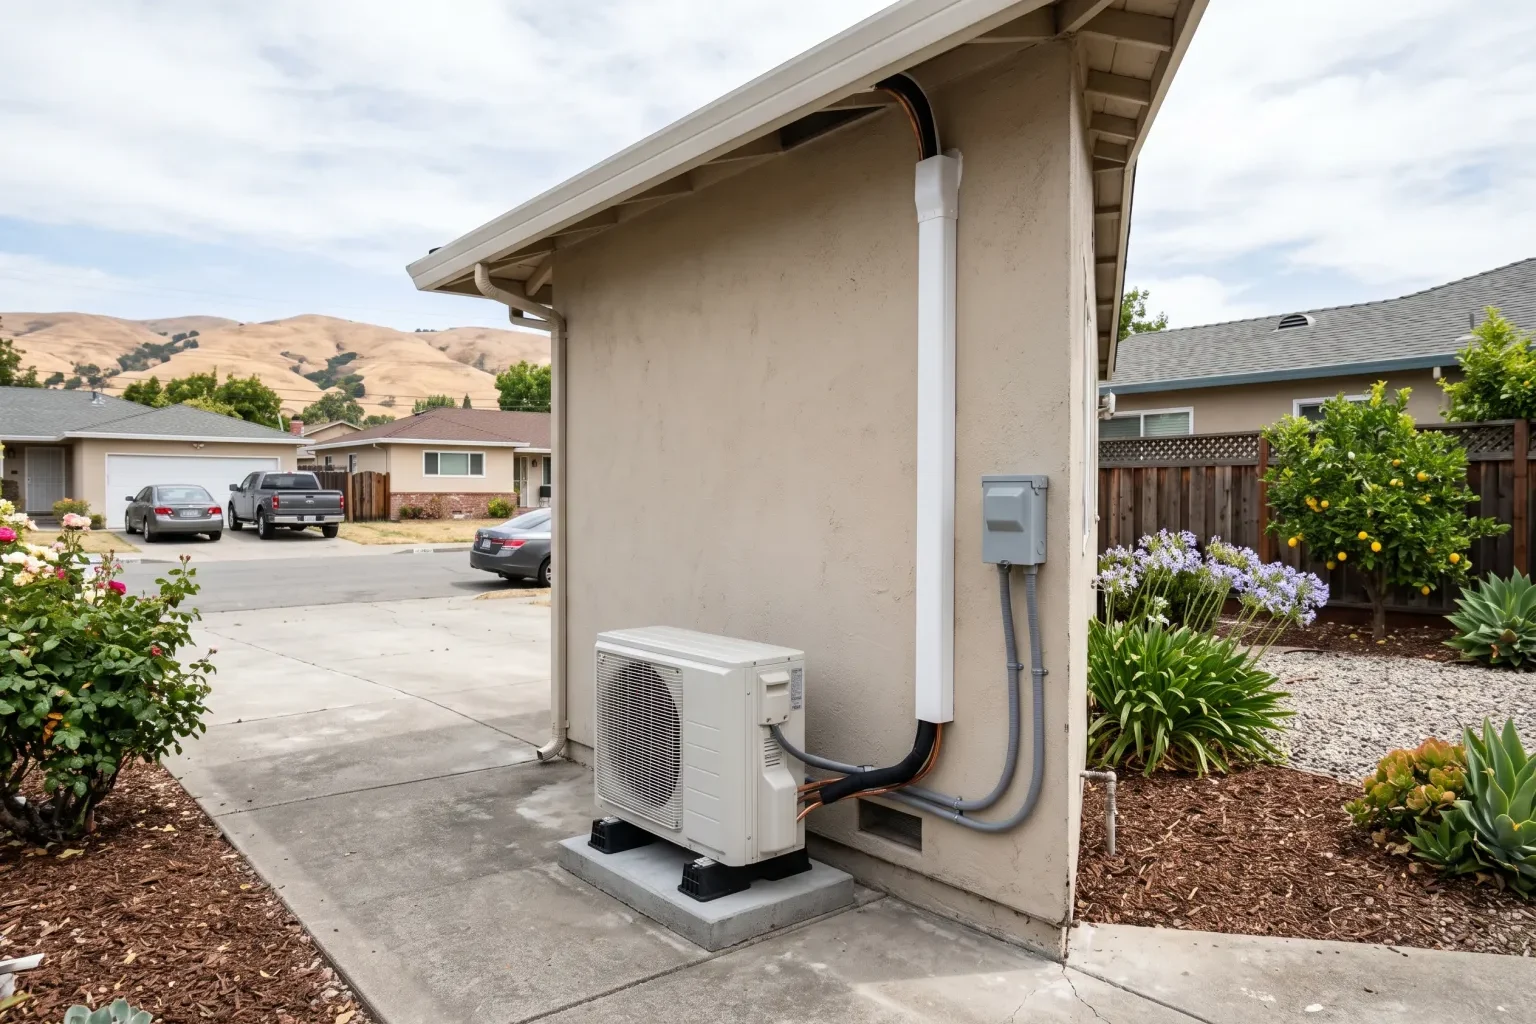
We also look at the practical path for the line set, the condensate drain and the electrical supply. The outdoor unit needs solid footing, room for airflow and a spot where the noise will not bother a bedroom window or a neighbor. On hillside lots and homes with tight side yards, that placement conversation can be the most important part of the visit.
- Room dimensions, ceiling height and sun exposure for each zone
- Wall construction and the cleanest route for refrigerant lines
- Electrical panel capacity and whether a new circuit is needed
- Where condensate can drain by gravity or will need a small pump
- Outdoor unit location, clearances and sound considerations
- Indoor head style: wall-mounted, ceiling cassette, floor console or concealed ducted
Fixing, extending or adding: comparing your options honestly
Not every comfort complaint needs a new system. Sometimes a hot room is caused by a crushed flex duct in the attic, a closed or blocked register, or a central system that is low on refrigerant. If our inspection turns up something like that, we will say so and price the repair, because it may solve the problem for far less disruption.
When the existing system is healthy but simply cannot reach a space, a single-zone mini-split is usually the most direct answer. If the existing system is near the end of its life and the house has several problem areas, a multi-zone ductless setup or a whole-home heat pump may make more sense than patching. For homes with an existing mini-split that has failed, we compare repairing the current unit against replacing it, looking at the condition of the coil, the compressor and the line set before suggesting either path.
Choices that shape the cost of a mini-split project
We do not publish prices, because two mini-split jobs that look similar on paper can differ a lot once we see the house. What we can tell you is which decisions move the number up or down, so you can weigh them before you commit.
The biggest factor is the number of indoor zones. A single head on an exterior wall with the outdoor unit directly behind it is the simplest installation. Each added zone means more equipment, more line set and more labor. Line length matters too: a run that has to travel through an attic or around a corner of the house takes longer than a short, straight one.
- How many rooms or zones you want conditioned
- Indoor unit style, since ceiling cassettes and ducted heads need more work than wall units
- Distance and difficulty of the refrigerant line route
- Electrical upgrades, including a new breaker or panel work
- Pad, wall bracket or roof mounting for the outdoor unit
- Efficiency level and any cold-climate or low-sound features you choose
- Permit requirements for your city
Installation day, step by step
Most single-zone installs wrap up in a day; multi-zone jobs can take longer. We start by protecting floors and furniture near the work area. The indoor mounting plate goes up first, then a small hole is drilled through the wall for the line set, drain and control wire. The outdoor unit is set and leveled, refrigerant lines are flared and connected, and the electrical work is completed.
Before any refrigerant is released into the system, we pressure test the lines and pull a deep vacuum to remove moisture and air. Skipping or rushing that step is one of the most common reasons mini-splits fail early. Once the system is running, we check temperatures at each head, confirm the drain is flowing, and show you how to use the remote or app, how to set schedules and how to clean the washable filters. You will leave with a short list of what to watch for during the first few weeks.